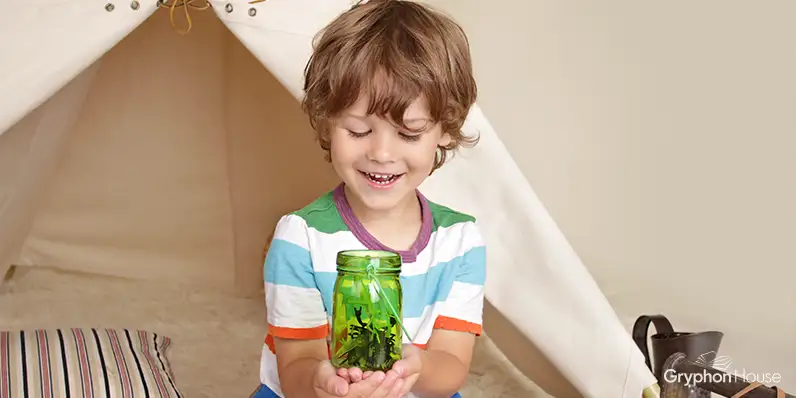
4 Fun Science Activities to do With Your Preschooler
March 12th, 2015 | 2 min. read
You can encourage your child's power of observation with simple science activities for preschoolers done right at home. From chain reactions to patterns in nature, preschool science activities are easily accessible for parents who feel they don't have ANY science knowledge but want to encourage exploration in their children.
Science-Not Just for Scientists! by Leonisa Ardizzone, EdD, combines easy-to-do activities with hands-on experiments that will open their eyes to scientific discovery. Try these four fun activities to do with your preschooler and check out her colorful book for many more!
What Color is Your Water?
Essential Question: How does temperature effect how color moves through water?
Materials:
- Clean, unbreakable containers
- Cold tap water
- Hot tap water (adult only)
- Liquid food coloring, green or blue
- Room-temperature tap water
- Thermometers
- Very cold water
Methods:
- Fill the containers with water of varying temperatures, and line them up on a table.
- Sitting at a table, encourage your child to look carefully at the jars: Do all the jars look the same? Can he tell which are hot or cold? (He may carefully touch the outside of the jars.)
- If your child is new to using thermometers, take time here to discuss why we use thermometers and how they work. Measure the temperature of the water in each container.
- Ask your child to predict what will happen when you drop food coloring into each jar.
- Observe what happens when you add a drop of food coloring in each jar. Drop only one drop into each jar.
- Observe the water. Ask your child what is happening to the color. Is it spreading out? Is it floating? Is it sinking? Is the water changing color?
- Wait for one minute, then observe again. What changes does he notice? Repeat for 2, 4, 6 minutes.
- Did the food coloring behave like they predicted?
Incredible Shrinking Food
Essential Question: How can we use measurement to observe change?
Materials:
- Chart paper
- Marker
- Plastic containers with lids
- Variety of fruits and vegetables, such as cucumber, squash, lettuce, apple, banana, orange, kiwi, tomato, and so on
Methods:
- Place a collection of fruits and vegetables on the table. Give the child time to share his observations of the items.
- Cut samples of each item into similarly sized pieces. Using a scale, record how much each piece weighs.
- Place each item in its own plastic container and cover with a lid.
- Each day, have your child record how the pieces change and weigh and record the samples.
- As time progresses, the food will begin to rot. Liquid will begin to leave certain fruits and vegetables. Talk with your child about the changes they notice.
Where Will I Grow Best?
Essential Question: How does location affect plant growth?
Materials:
- Light source
- Marker
- Paper
- Paper cups or sod pots
- Seeds (rye grass works well)
- Soil
- Water
Methods:
- Ask your child what plants need to grow. What would happen if plants grew without these things?
- Discuss the idea of a variable, a factor or element that can be changed.
- Make a list of what the child would like to change, such as the amount of light, temperature or water.
- Set up experiments: Put soil in cups, then add sees. Determine what variables he will examine in each cup. Be sure to keep one separate as the "control" cup, which gets all variables.
- Label each cup. Each day, encourage your child to check the cups and record the observations. Talk about what changes he notices.
Yum! Butter!
Essential question: How does milk become butter?
Materials:
- Heavy cream
- Plastic containers with tight lids
- Samples of butter
Methods:
- Offer your child a sample of butter to taste. Yum! How does it look, feel, taste? How is it made?
- Show your child the cream and add 1/4 cup of cream to each container. Tightly close the lid.
- Have your child shake the container vigorously or use an electric mixer to beat the cream for several minutes. Let him observe the stages the cream takes to become a solid mound of butter.
- When butter forms, he can conduct a taste test again.
- Encourage him to do the same experiment with different forms of milk: rice milk, soy milk, almond milk, skim milk. Does it work? Why or why not?
For more activities, check out Science-Not Just for Scientists!
Author(s)Leonisa Ardizzone, EdD
Topics: