- Home
- Activities
- Great Gift for Dads: Tabletop Photo Holder
Great Gift for Dads: Tabletop Photo Holder

Did you know that the first celebration of Father's Day occurred on June 19, 1910, in Spokane, Washington? The celebration of fathers and male parenting began out of respect for the single father of Sonora Smart Dodd, who raised six children on his own after his wife died during the birth of their sixth child. Though observance of the holiday faded out once Dodd moved away from Spokane to attend college, it came back when she returned to Spokane, and the holiday gained recognition on a national level.
After several presidents attempted and failed to make it a formally recognized holiday, Lyndon B. Johnson signed a presidential proclamation in 1966 that designated the third Sunday in June as Father's Day, and Richard Nixon signed it into law in 1972. Since then, fathers across the nation have been receiving ties, pipes, grilling equipment, sports memorabilia, and the like as ways to celebrate their work as parents. Some of the best gifts, though, are homemade. Drawings, handwritten cards, and other crafts provide good gifts that have a personal touch! Print out a photo and use this activity to create a photo holder for dads to cherish!
Tabletop Photo Holder
Materials
- self-hardening clay, plain or colored
- metal spatula
- photo of dad and child together
- thin paintbrush
- tempera paint
What to do
- Work a small, ball-sized piece of clay into a solid, freestanding shape.
- If desired, use multiple colors of clay to add designs and features to the creation. Leave a space on the top for a slit for the photo.
- Using the metal spatula, cut a slit in the top of the holder approximately 1"-2" in length. Cut the slit deep and long enough so that it will hold a photo upright.
- After the clay dries, paint the clay holder using a paintbrush and tempera paint.
- Allow the paint to dry. Slide the photo into the slit to complete the gift!
Helpful Hints and Suggestions
- Cover the photo with laminate or clear contact paper for added durability.
- Using a toothpick, help your child etch their name on the bottom of the photo holder before it dries.
- Experiment with making different shapes! For example, create a golf ball by rolling white clay into a ball and making indentations with an unsharpened pencil!
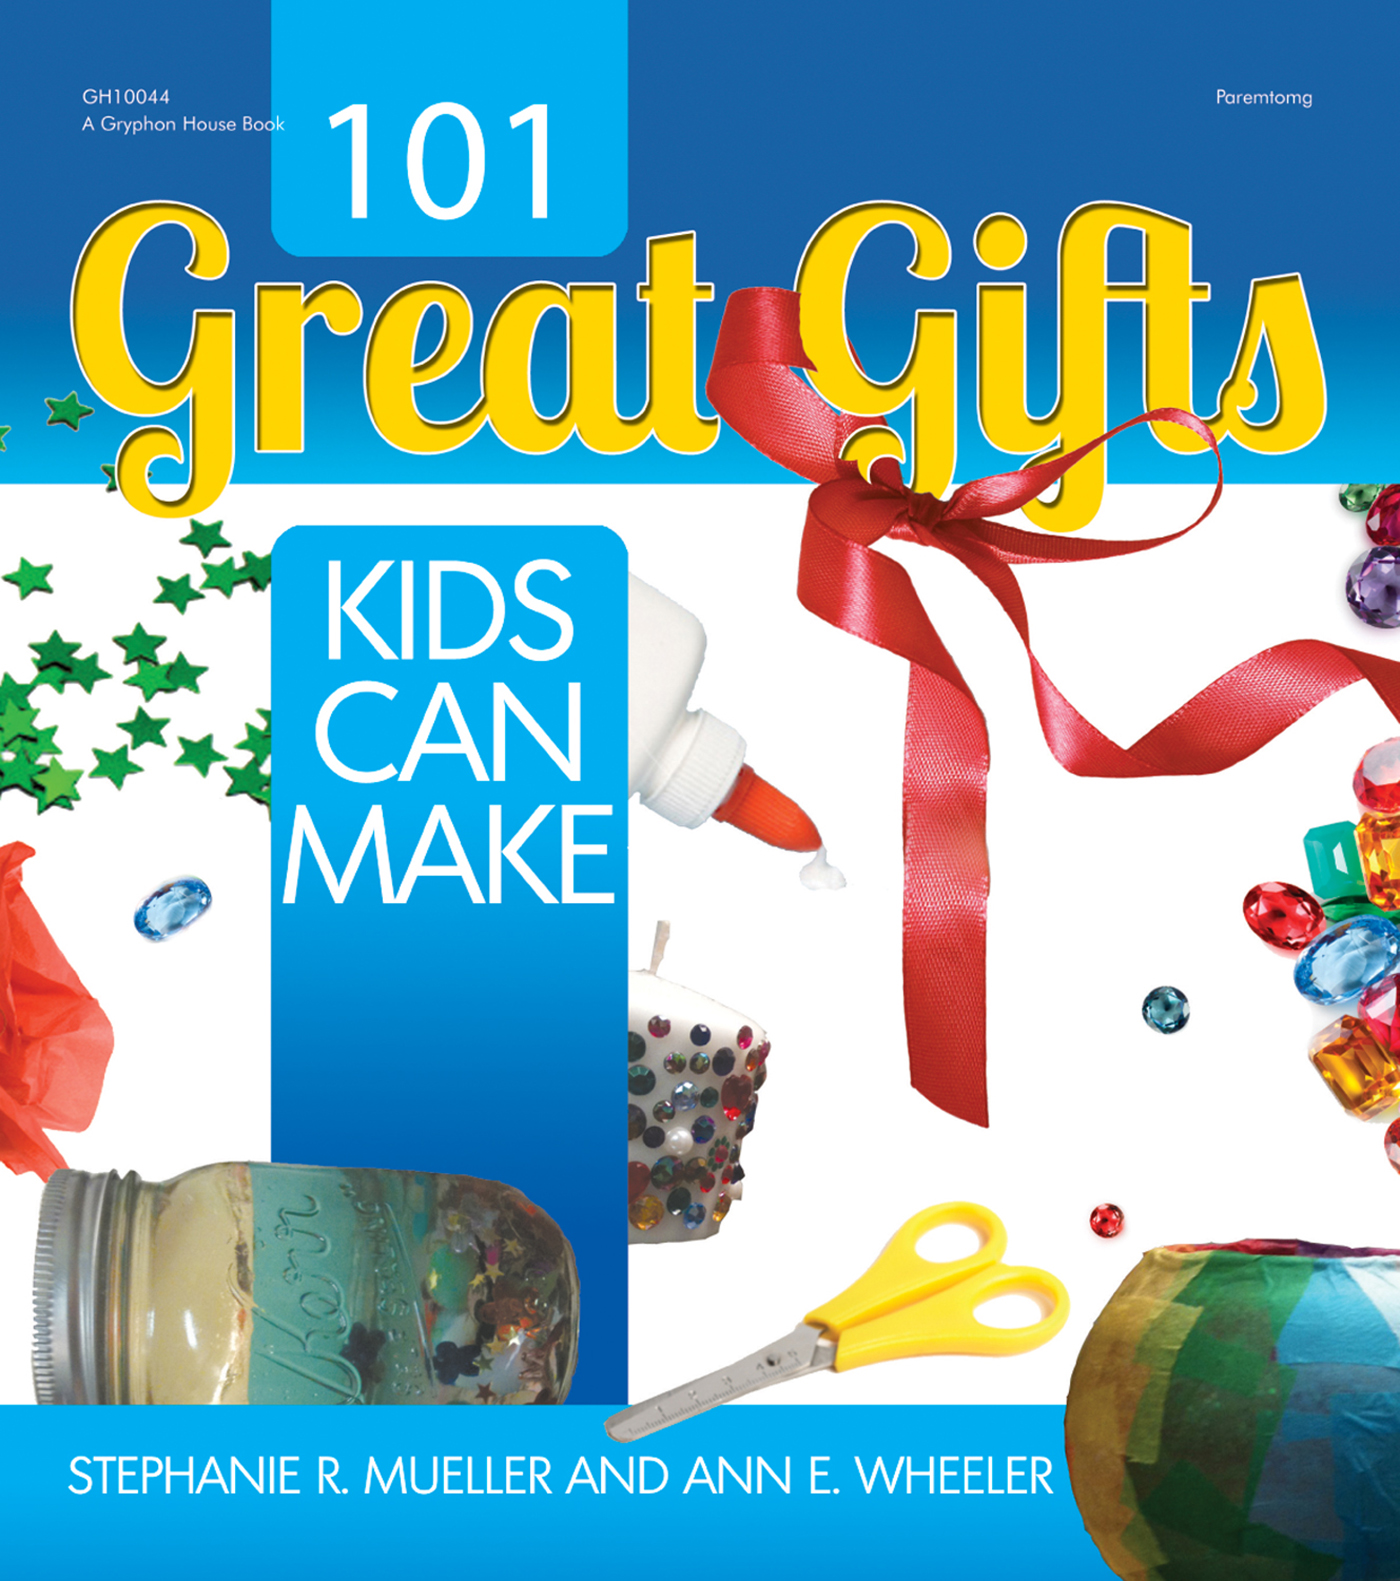
-Stephanie R. Mueller, Ann E. Wheeler