- Home
- Activities
- Relaxation in a Bottle | A Social-Emotional Activity for Young Children
Relaxation in a Bottle | A Social-Emotional Activity for Young Children

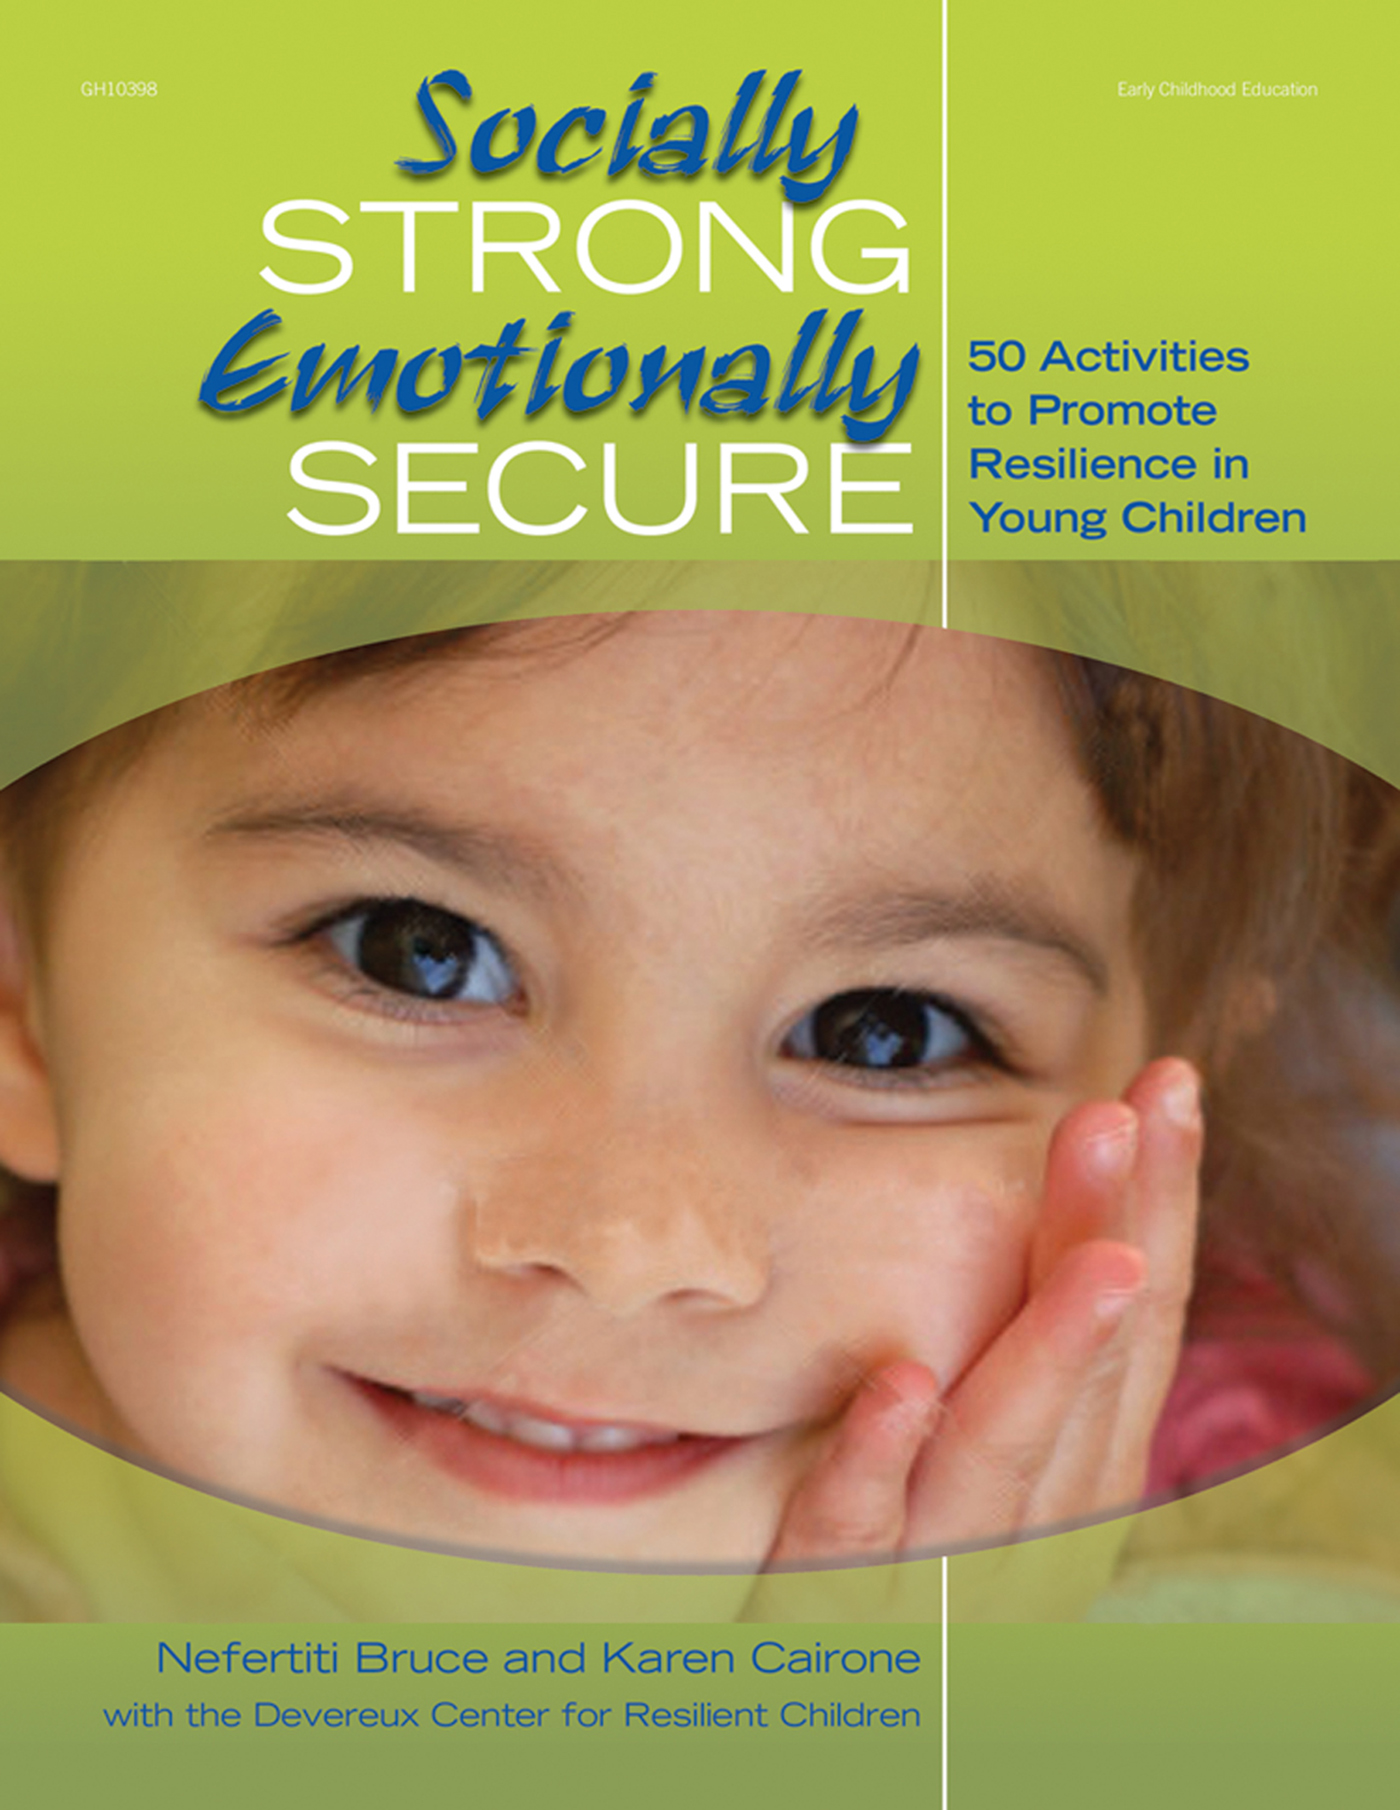
This hands-on relaxation activity helps children begin to develop skills for self-regulation and learn how to move from an excited state to a more calm state. These important social-emotional skills of initiative and self-control will be useful throughout children's lives as they learn and grow! Get the book Socially Strong, Emotionally Secure: 50 Activities to Promote Resilience in Young Children for more strategies and activities to help children become socially and emotionally healthy for life.
Materials
- clear, empty plastic bottles with lids (one per child; water bottles work best)
- food coloring
- glitter
- heavy tape
- marbles
- sequins
- Super Glue (*adult use only)
- vegetable oil
- water
What to Do
- Before you begin this activity, be sure to talk to the children about the need to rest our bodies from time to time. Ask the children questions about how they feel when they are relaxed. Ask them about ways they relax and settle down when they are excited.
- Share that this activity will give them a fun way to help them relax.
- Help each child fill an empty bottle 2⁄3 full of water.
- Add a few drops of food coloring. (Red, blue, green, and purple work best.)
- Fill the remaining space in the bottle with vegetable oil.
- Add sequins, marbles, and/or glitter.
- Glue the cap to the bottle and wrap it securely with heavy tape (adult step only).
- Encourage the children to swirl, shake, and spin their water bottles as a technique to help calm them. Encourage them to breathe deeply.
- Talk children through the process of relaxation by asking them to make their marbles move very slowly from end-to-end and then to make them stop altogether.
- **SAFTEY NOTE: do not allow children to chew on this bottle.
Instructions
1. Engage the children in a discussion
about ladybugs. Display images of
ladybugs and their body parts. Talk
to the children about the various
body parts ladybugs (and all
insects) have, including the head,
pronotum (behind the head),
thorax (middle section where legs
are attached), abdomen (body
behind the thorax where most of
the organs are), wings, antennae,
and legs.
2. Demonstrate how to roll a circular red body and a smaller black head.
3. Add black clay dots to the red body, black clay antennae to the head and
wiggle eyes to the face.
4. As the children construct their own clay ladybugs, discuss the different body
parts of ladybugs.
Assessment
Consider the following:
* How many sections does the body of a ladybug have? What are they called?
* How many antennae do ladybugs have?
* How many legs do ladybugs have?