- Home
- Activities
- Develop Scissor Skills and Bilateral Hand Skills by Making a Wreath
Develop Scissor Skills and Bilateral Hand Skills by Making a Wreath

Fine motor skills are a stepping-stone for school readiness. Share this fun craft activity for developing children's scissor skills and bilateral hand skills with families!
Making a Wreath
What You Need
- Paper plates
- Glue sticks or small container of glue for dipping
- Tissue paper
- Child-safe scissors
What to Do
- Show your child how to fold a paper plate in half.
- Encourage her to cut a semi-circle around the inside of the paper plate.
- Unfold the plate to reveal a “wreath.”
- Help your child decorate the wreath by tearing small pieces of tissue paper and squeezing the paper into balls.
- Give her a glue stick to use to cover the “wreath” in glue, or dip each tissue paper ball into glue.
- Glue the tissue balls onto the wreath. When the glue dries, display the wreath prominently.
- Help your child punch two holes at the top of the wreath and lace yarn or ribbon through the holes so that she can hang the wreath.
More Fun!
- Use the wreath as a frame for a picture – either something your child has created or for a photo. Give it as a gift!
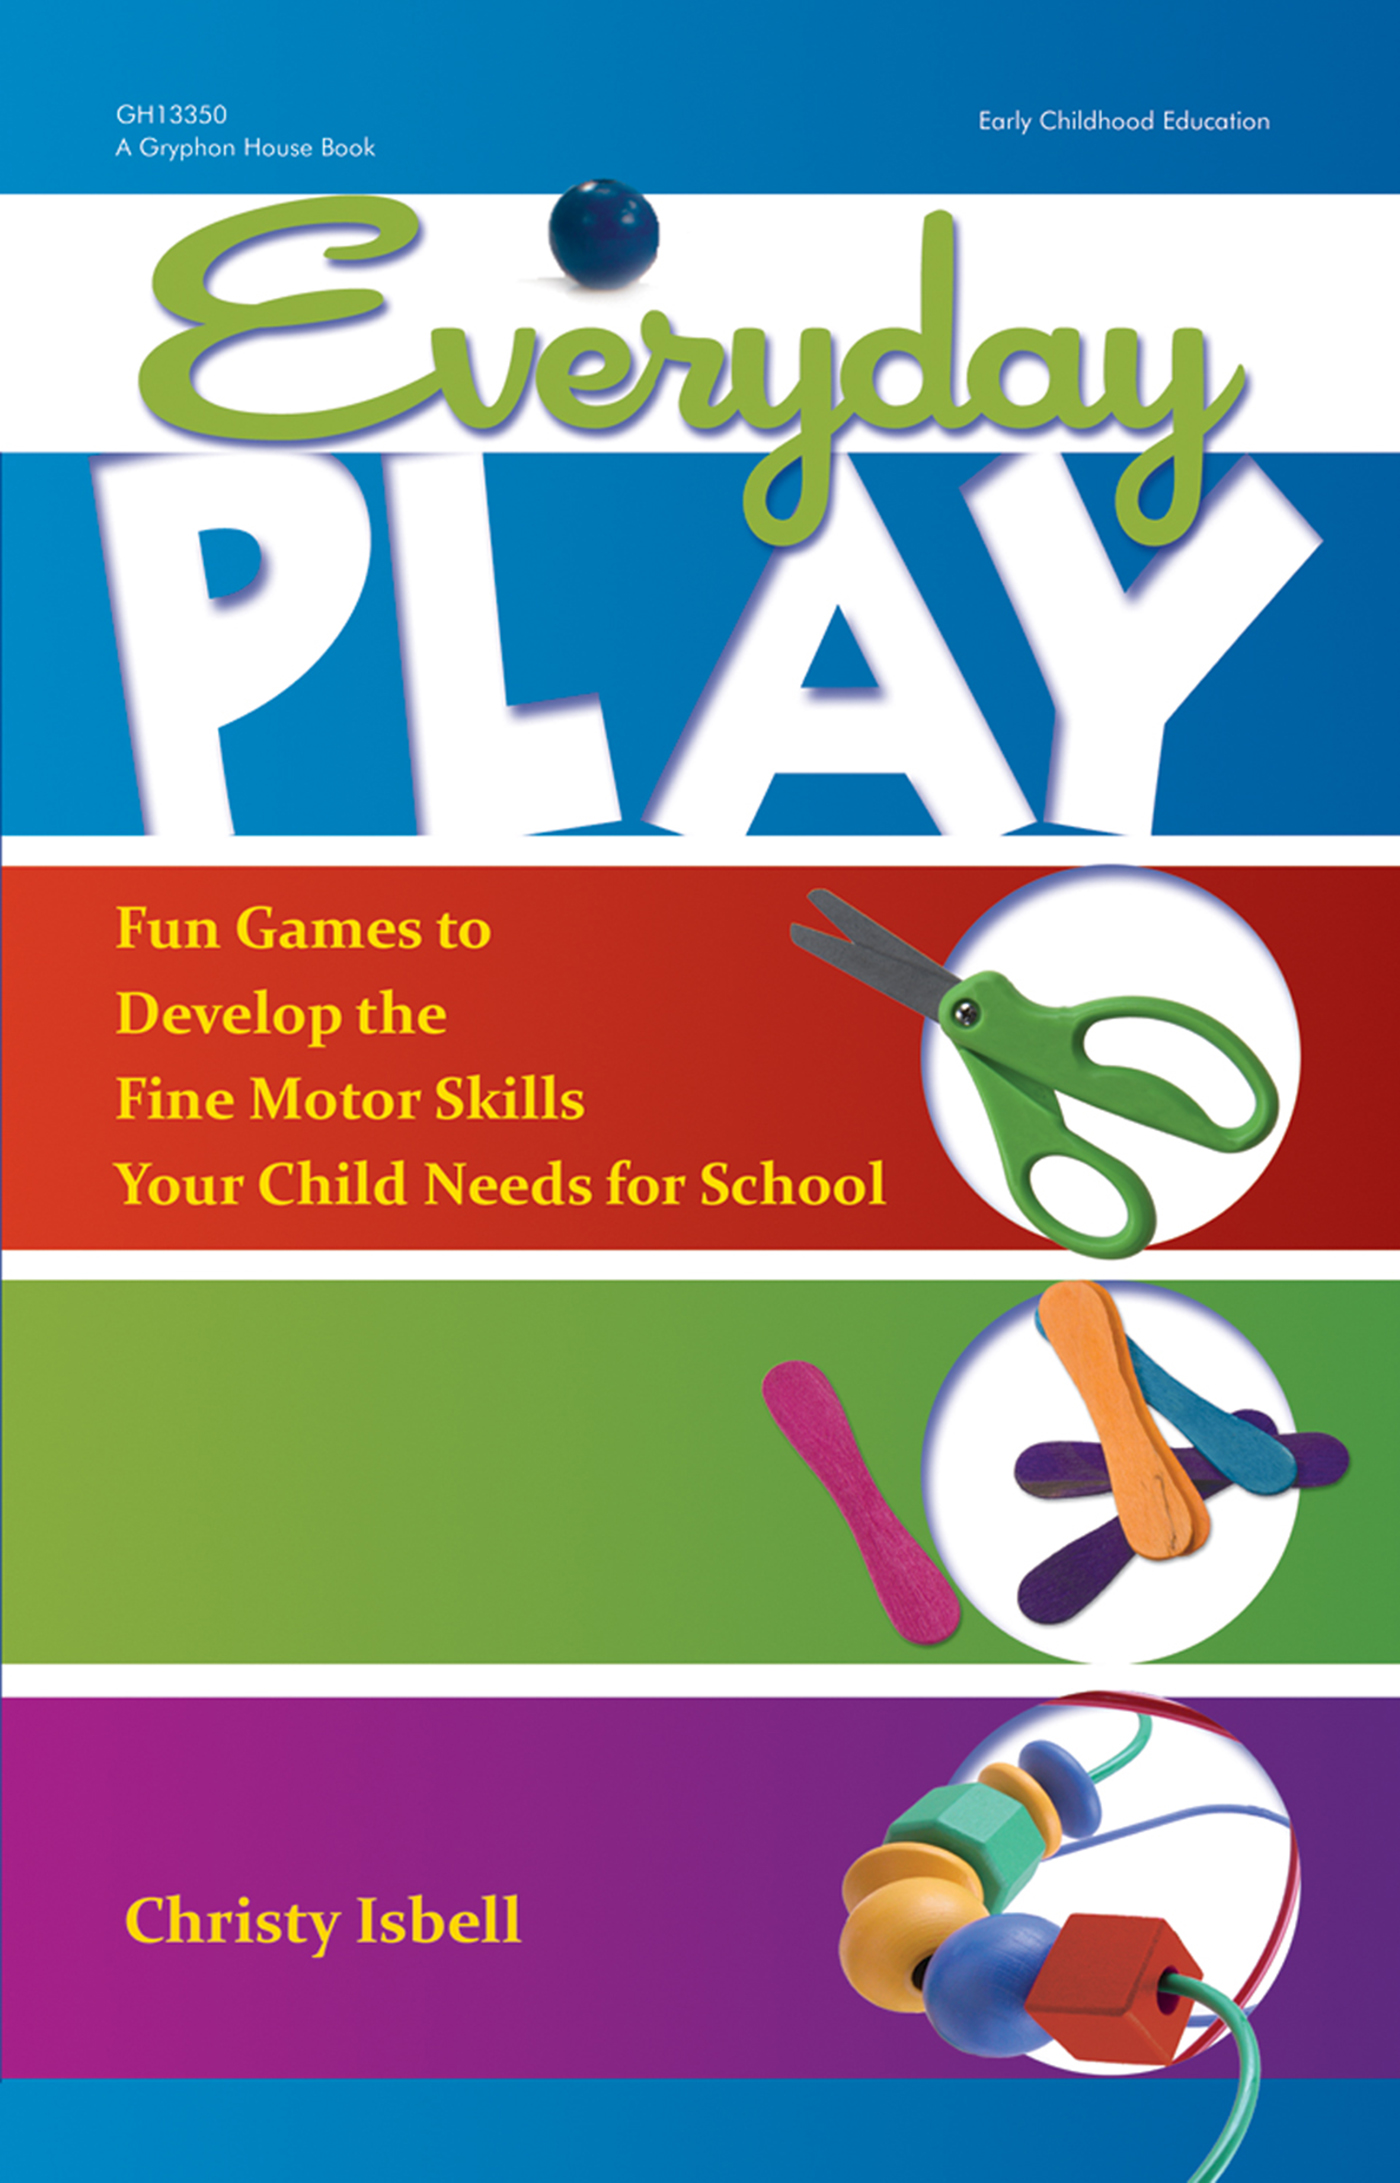
With a chapter of frequently-asked questions from real parents, developmental guidelines, and easy strategies for teaching children important skills, Everyday Play: Fun Games to Develop the Fine Motor Skills Your Child Needs for School is the book parents need to ensure their child is ready for kindergarten! Organized by age for easy reference, the dozens of creative activities in the book are inexpensive, require few or no materials, and are easy to do. Written by Christy Isbell, PhD, OTR/L, a pediatric occupational therapist, the activities allow parents and children to have fun together while building kindergarten readiness.
Instructions
1. Hold up the die-cut circles and have the children identify the colors they see.
2. Give each child a circle, and pin or tape these circles onto the children's
clothes. (Safety Note: If using safety pins, be sure only adults pin the circles to
the children's clothes.) Ask the children to name their colors.
3. Give instructions to the children based on the color of their circle. For
example, you can say, "Reds, stand up. Blues, touch your nose. Yellows, pat
your heads. Greens, hop on one foot," and so on.
4. Try varying the instructions to make the actions more complex. For example,
combine instructions for multiple colors by saying, "Reds and blues, clap your
hands." Alternatively, give multi-step directions and say, "Greens, close your
eyes and touch your toes."
Poem
A Rainbow of Colors by Laura Wynkoop
Red is the color of a fire truck. Green is the color of a new spring shoot.
Orange is the color of a juicy fruit. Blue is the color of the sparkling sea.
Yellow is the color of a baby duck. A rainbow of colors is all around me.
Teacher - to - Teacher Tip
l Use color-based instructions to return the children to their seats or to
transition to the next activity.
Assessment
To assess the children's learning, consider the following:
l Are the children able to name the colors of the circles?
l Can the children follow one-step directions based on their colors?
l Can they follow multi-step directions based on their colors?