- Home
- Activities
- Brrr-illiant Building Fun: Ice Castles & Igloos, Oh My!
Brrr-illiant Building Fun: Ice Castles & Igloos, Oh My!

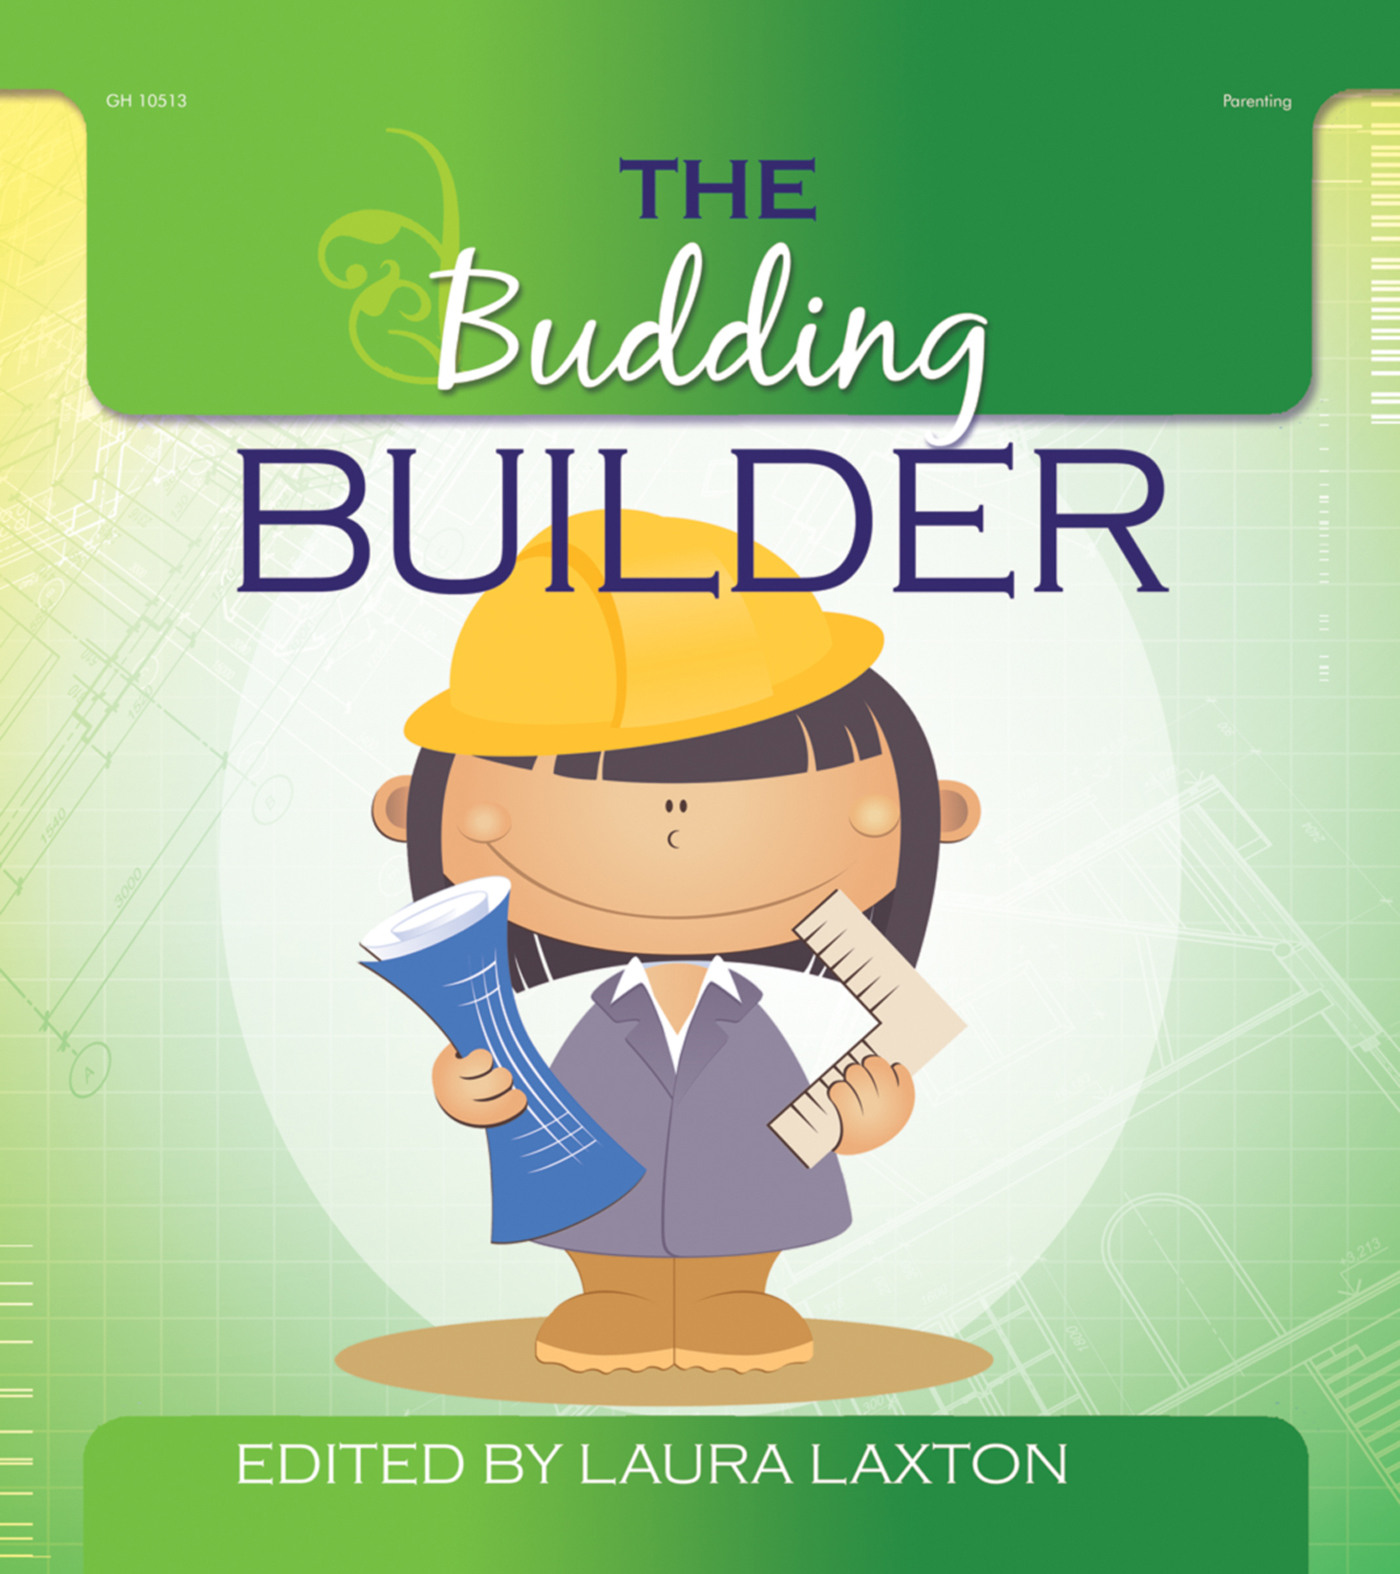
Congratulations to The Budding Builder for being named one of Dr. Toy's 100 Best Children's Products of 2012. To celebrate, we're sharing an activity from the award-winning title!
Ice Castles & Igloos, Oh My!
What does it take for pieces of ice to stick together? Try this activity and find out!
A little inspiration for ice castle princes and princesses...
What You'll Need:
- Freezer
- Gloves or mittens
- Ice cube trays and small plastic containers of various sizes
- Large cookie sheet
- Large towel
- Saltshaker with salt
- Water
What to Do:
- Fill small containers of different sizes with water, and place them in a freezer overnight.
- Protect your work area with a large towel. Place a large cookie sheet on the towel.
- Remove the ice from the containers, and place the ice on the large cookie sheet.
- Look at how the ice froze in the shapes of the containers.
- Try to build a castle or an igloo with the ice. You will need gloves or mittens. Do the ice shapes stack the same way blocks do?
- Sprinkle the ice with a saltshaker. The salt helps the ice pieces stick together. Do you know why this happens? (Salt melts ice, and the melted ice sometimes refreezes, making things stick to the ice.)
- Can you think of other ways to keep the pieces of ice together? Try a few!
For more fun-filled building activities, from creating a fairy-tale cottage to constructing a toothpick sculpture, check out The Budding Builder.
Instructions
* Cut many shades of green paper into leaf shapes. (More advanced children
can help with this step.)
* Use brown paper to create a large tree on the wall.
* Add the leaf shapes to the tree.
What to Do
1. Ask the children's families to send an old necktie. The busier the print on the
tie, the better.
2. Cut open one of the tie's ends and fill with fiberfill. Use the dowel rods to
poke the fiberfill in firmly.
3. Sew or have the children glue the end of the tie closed.
4. The children can add wiggle eyes and red felt cut into snake tongue shapes
using craft glue or use the self-adhesive kind.
5. The children can sit under the tree and play with their snakes. What fun! Talk
about how snakes move without legs and how they can even climb trees.
Emphasize that the movement the snake uses to move is called "slithering."
6. Ask the children if they can slither. Clear a large floor area or go out into the
hall and have "slither races" in which the children race each other while
slithering like a snake.
Assessment
Consider the following:
* Observe the children as they stuff their snake. Do they have difficulty
manipulating the materials?
* Can the children demonstrate the slithering motions?